
Have you ever seen a mic pack on the back waistband of a television news reporter? If so, then you know it’s a rectangular box about four inches long, three inches wide, and one inch thick. A thin cable runs from the box to the microphone which is attached to the front of the speaker’s clothing.
Using a wireless mic, also called a lapel mic isn’t difficult, but it requires some wardrobe planning to make sure you use it most effectively.
First, let’s think about jewelry. The rule is simple: if it makes noise, or might bump into the mic, don’t wear it! Ladies, this means you need to leave that beautiful charm bracelet you inherited from Aunt Susie at home. Also watch out for dangling earrings and multi-stranded necklaces. Gentlemen, you’re probably safe, but if you wear a tie clip or lapel pin be sure it doesn’t get in the way of the microphone.
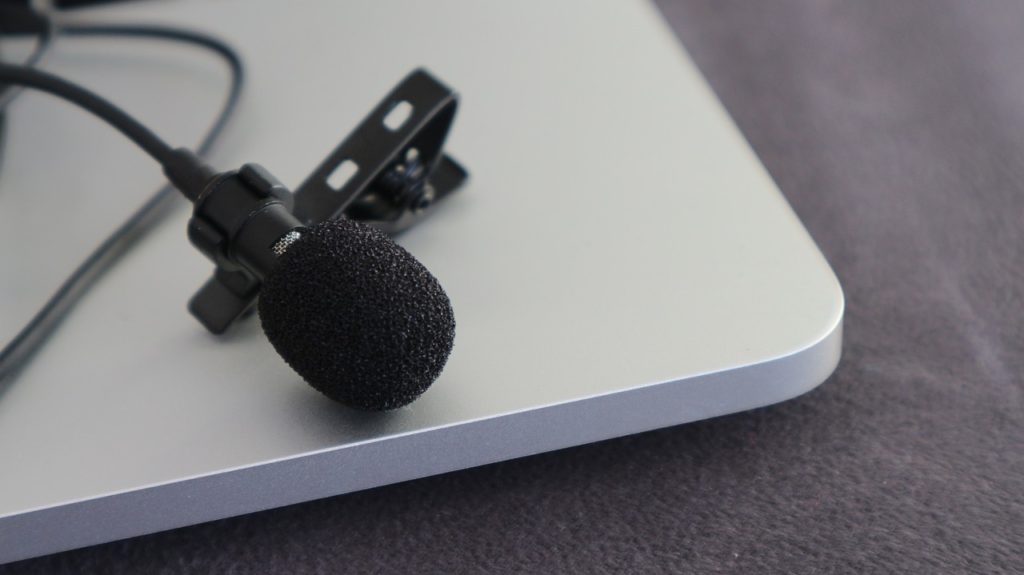
You will need a pant or skirt waist band or belt where the mic pack can be attached or a pocket where it can be carried. The mic cable should be tucked into your clothing so it is not seen.
The microphone will be attached to your clothing four to eight inches below your collar-bone. A tie, the folded side of you lapel or the button front of a sport shirt is the ideal place for a man to wear a mic. Women should attach the mic in a similar area. The trick is to keep the mic from swinging around on loose clothing. Also, be aware that the microphone clip has sharp edges and could damage fragile fabric.
The mic will pick up the scratching sounds of hard surface silk and polyester fabrics, nylon windbreaker jackets and plastic rain gear when these materials rub together.
I recently saw a speaker moved the microphone from his left lapel to his right lapel when he was speaking in an interview to someone sitting to his right.
Prepare carefully and enjoy the freedom of a wireless microphone.
by Karen Hudson
The Renaissance Speakers is an award-winning and prominent Toastmasters club hosted by the Church of Scientology in Pasadena, California. Join us this weekend for a little “Saturday Night Live on Sunday Morning!” We meet from 9:00am to Noon, each and every Sunday. ALL ARE WELCOME!